Macro Photography
Macro photography is a term used to describe photos where the subject is recorded as life size or up to 10x bigger. Macro magnification is often represented as a ratio. 1:1 is considered the standard minimum for true macro. There is a difference between close up and macro photography, close up is where the subject is recorded between one tenth of its actual size whereas macro is life size or up to 10x bigger.
Method:
- We used a DSLR with a 50mm lens, we also added on an extension tube (12mm) for better close up results.
- Gather up the rest of your equipment, this consists of a light metre, your small objects, light trigger and receiver. In the studio room you should already have your black & white backdrops/table set up. Along with the basic lighting equipment.
- To set up the camera make sure the focus ring is set to the infinity sign (side ways 8), The aperture should be set to f/11. The depth of field is very small this also brings the image quality down so anything between f/11 -f/16 is an acceptable compromise The ISO at 100 and the shutter speed should be at 1/60.
- For the lighting because we're using an extension tube the lighting needs to be half a stop more then the aperture. So since our aperture is at f/11 our lighting needs to be at f/11.5 so test this we adjust the dial on the side of the lighting, place the light metre where you plan to place your object. Than proceed to pressing the light trigger will cause the light to flash, Pressing the bottom button on the light metre will give you a reading and you repeat this process until you get your lighting at f/11.5.
- Then place your object on either the white or black table.
- To focus the camera you have to get real close. To bring the camera into focus you need to move back and forth, kind of like on an iphone when you shake your phone to focus the camera. Don'd rush yourself here, take your time to carefully consider where you want your focus point to be. You need to move around until the image is crisp and clear.
- Things to consider before taking the photo is: Subject, focusing/depth of field, lighting and exposure.
- Once you're happy, take the photo.
- After you can upload the images onto photoshop and play around with colour adjustment.
Extension tubes.
Extension tubes are used for close up macro work, They usually come in three different sizes- 12/13mm, 20/21mm &31/36mm. You can combine extension tubes to gain an even longer focal length lens.Extension tubes contain no optics, they're hallow tubes that help create a longer focus length. Extension tubes are attached to the main body of the camera, each tube has a different magnification ratio, the higher the magnification the more light that's needed.
- Reproduction ratio = focal length of the lens / amount of extension.
- An example- 100mm lens / 50mm extension = 1.2 (half life size)
EQUIPMENT:
- DSLR
- Extension tubes.
- Light trigger & receiver.
- Light meter.
- Lighting equipment.
- Light table.
- Black and white backdrops
- Subject (anything small you wish to photograph)
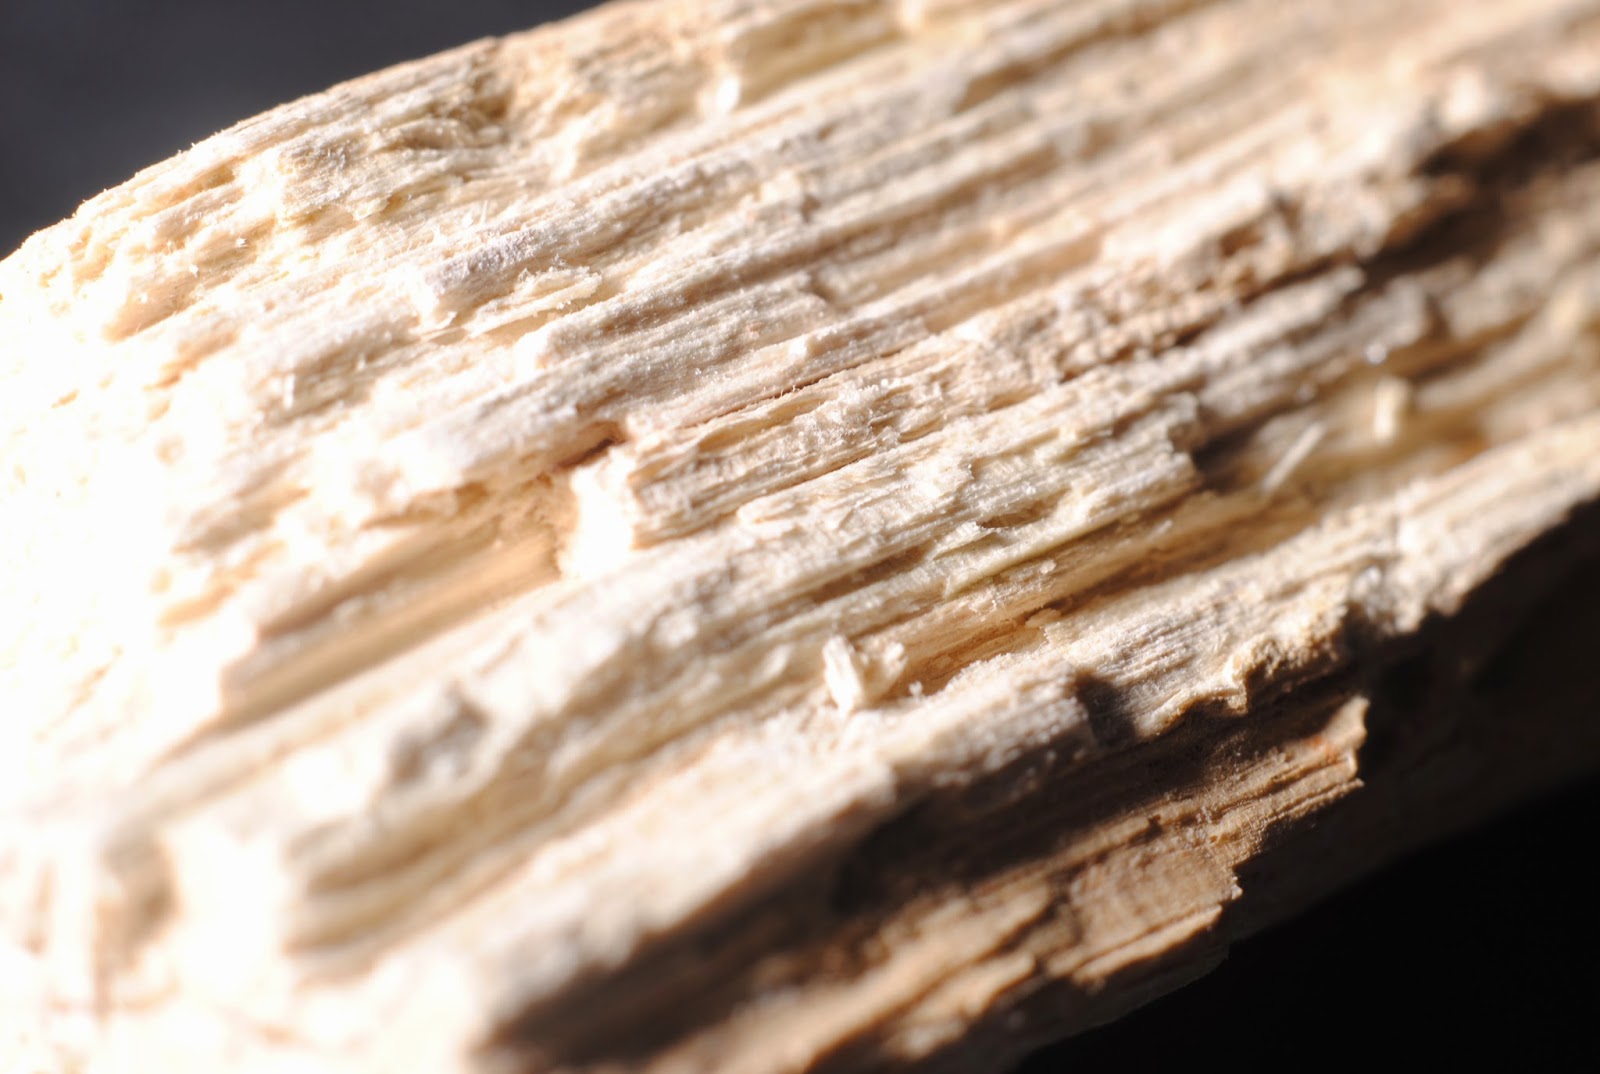
Here is some close up images produced by following the method above.


No comments:
Post a Comment