Colour adjustment.
This post is to show you how to do colour adjustments on photos on photoshop.
- First off open up photoshop then up load your image. To find adjustments you go to image => adjustments. This then opens up a list, to start with you want to just play around with brightness/contrast, levels, curves and exposure.

- Then proceed to pick one of the adjustments, I first went for brightness and contrast, this changes the dark and light tones within the image. I personally left mine how they originally were. Don't forget to save your changes

- The next one was curves. The curves adjustment is probably the most powerful, and it works by tweaking the central line and placing anchors along the path. By changing the path of the original diagonal line you can change the tonal out point on the image, I enhanced the orange within the wings of the butterfly.

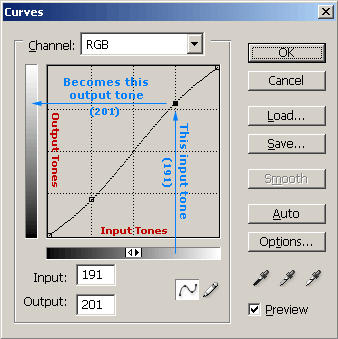
- This image shows two anchor points on the curves graph and how each point effects the original image.
- The exposure adjustment works by adjusting the highlighted end of the tonal scale. It doesn't do much difference to the darker areas, so it was really effective on the wings of the butterfly.

- The last one is levels, and personally this is my favourite one to play around with because you're only using three main components, a black point, white point and midtone slider. Its shown as a histogram. The black point controls the amount of black in the image and the same happens with the white point. Adjusting the midtone is probably the most important, if you slide it to the left the histogram stretches to the right, which compress the histogram to the left. This brightens the image because the shadows are stretched and the highlights compressed. Visa versa.

- This was my final outcome once I'd finished playing around with the colour adjustments.

- I then went a step further to merge two different layers. I made a duplicated layer. You click on the layer icon below the adjustment pallet.
- This grab shows what comes up after you click duplicated layer, just naming the layer, press okay then you have the same layer repeated twice. Next to the layers you have little eye icons, click on the eye that belongs to the original layer. This means you only see the effects of the duplicated layer.

- Next I went back to the adjustments, instead of using the original four I went further down and selected the black and white adjustment, which automatically changes the image to mono chrome. You don't have to make the image black and white you can merge two coloured images.

- After I made the butterfly monochrome I decided to just merge the layers as they were. To do this there is a button above the layers labelled normal, click on this and it brings up a list of options. These options are different effect on how the layers merge together. Have a play around here and see which effect you like best.

- This is my finished result after the merging.

No comments:
Post a Comment