Friday, 2 January 2015

Lucia, shin & moises development

Lucia, Shin & Moises devlopment.

For this development I produced 6 different pieces each being developed from the previous one. I also photocopied the original one to save time. For this development I also added in zentangle.

Method:
  1. First you need to gather your equipment. Pen, watercolours, oil pastels, pastels and acrylic paint.
  2. The first thing I did was, I drew out a simple line drawing of my second idea, keeping in tac the facial features, I then used Moises technique and layered up my drawing with different facial line images, removing the facial features. 
  3. Next I went back over the main lines to make them bolder, so they could stand out. I went over the different faces and the hats. 
  4. For my second piece I added in the watercolour, I used the same technique as in my previous lucia post. The  difference to this was I added in the hair using a brown wash to just highlight the section of hair. I also added zentangle to the dog ears similar to my zentangle post, using a pen.
  5. After that I produced my third piece, I repeated steps 1-4. I also changed the collar of the colour to a pastel purple, simply because I was experimenting with colour. After that I used pastels to create the same type of halo effect I used on my Shin and Lucia experiment. I chose to do opposite colours, black and white against orange and yellow.
  6. After that I produced my fouth piece, This one was much simpler then the rest. I followed steps 1-4 except I didn't add the hair because I think it looks better without it. 
  7. Then I photocopied my fourth piece to save me time.
  8. For my fifth piece using the photocopy of my third one, I added oil pastels to the outer edge of the face, it gave a more crisp cut feeling compared to the soft pastel.
  9. Then for my sixth  piece I repeated step 8. I also added acrylic paint. I used Shin's style on the hair (layering the paint using short brush strokes)  For this I painted across the different sections of hair to make them stand out, so each face would look more prominent. But this didn't have the desired effect.
  10. For my seventh and final piece I didn't add the oil pastels this time, instead I focused on the hair instead, I only painted the one hair section this time, I painted the hair that belonged to the starting face. I used Shin's style short brush strokes, using multicoloured murky colours.
  11. Wash out the paintbrushes and clean up your work surface.


Health & safety 
  1. Clean up after you're finished.
  2. If paint or oil pastels get into your eyes wash them out straight away.
  3. Don't eat when you're working,


Clay post

Clay experiment.

Using clay helped me widen my resources and enabled me to see which dimension I wanted to work in, either 3D or 2D. I used clay on my first idea, it was a simple head shot.

Method:
  1. First gather your equipment. Rolling pin, clay, sugar paper, carving tools and a pot of water.
  2. Take a chunk on clay, then roll it out till its the thickness of two pound coins stacked on top of each other.
  3. Next you want to carve out the basic structure, for me it was just lilly's head. Then take off the excess clay. Lightly imprint the other features e.g. ears, nose and eyes.
  4. Next you want to build up the features, First start with the eyes. Roll out the basic shape for the eyes then using water mould it into the structure. Be careful not to apply too much water.
  5. Then start with the nose, dig out a little crevasses to give the impression of the nose being raised, you can do the same for the ears and the area behind the ears.
  6. Then add in the finer details using a small sharp tool. Start with the detail in the ears, using the tool to create lines and direction, add small sharp strokes to imitate fur. Then you can start with the whiskers and nose. 
  7. Then put the clay piece into the kilm. For a bisque firing. This lasts for about 2 hours. 
  8. After its out of the kilm you can start painting. As the clay has reached the leather hard stage. You first have to mix the powered paint with water. I used browns and blacks to highlight light and dark tones. Once its dry it can be glazed and put back in the kilm.


Health & safety
  1. Clay dust- This can be very dangerous is inhaled over a long period of time. 
  2. Use a wet sponge to clean up clay dust.
  3. Always wash off your equipment after use. 
  4. No eating in the studio.

Moises Mahiques & zentangle

Moises Mahiques experiment.

For Moises Mahiques experiment I used it on my  first initial idea but I chose to only use lilly's head. The style of moises is kind of like a frenzy, an image repeatedly repeated but each time the image is slightly changed. For my experiment I only chose three layers. 

Method:
  1. First I had to choose the three images of my dog I wanted to layer
  2. Next grab your equipment which is only a pen. 
  3. Then you start the drawing, the basic idea behind it is to produce a simple line drawing. For the first drawing I added both eyes from the first image.
  4. Then you layer up the drawing with the other two images, again using simple line drawings.
  5. Next I chose to do another line drawing this time I only drew one eye, then I proceeded to add layers. 


Zentangle experiment.

For this idea I wanted to explore the use of line further, so instead of using it to produce outlines I wanted to use it to build up one outline from the inside out. The idea behind this is to use simple patterns to build up a image. 

Method: 
  1. First you need to grab a pen that won't run out any time soon.
  2. Next you need to draw the basic structure. Remember to leave the eyes out because you don't want to loose them within the pattern. 
  3. Then its time to get to work, there isn't any instruction on how to do this, you just have to flow with it and remember that you can't make a mistake once you start to zentangle. For my patterns I stuck to lines, circles and triangles.
  4. For the eyes and nose i used bold lines, the nose is completely blocked out apart from a shine on the nose. Then for the eyes I used bold line to outline the eyes as well as the iris's to give a ring effect.


Health & safety 
  1. I don't think there is any immediate hazards here, 

Further development with zentangle and Moises 

For this development I simply wanted to combine zentangle and moises.

Method: 
  1. First I repeated steps 1-4 but this time I added the eyes to each layer. 
  2. Next you add the zentangle and for this I chose to only zentangle certain parts instead of the whole image because the layered lines would disappear. 
  3. I chose the ears and nose to zentangle for each attempt.
  4. I also did another version this time I only used one eye because I wanted to compare the two.
  5. For more development you'll need some Indian ink. The idea behind this is to add colour to the zentangle and see how it works with the drawing.
  6. I added the colour to the nose, ears and eyes, using a paintbrush as the application would look a lot nicer compared to a nib pen. I didn't stick to one colour because I didn't want to limit the image. I tried to blend the colours so they'd all blend and not divide the pattern.
  7. Finally clean up after you're done, wash the paint brush and sides down.

Kwango-ho shin experiment

Kwango-Ho Shin experiment.

The idea behind this experiment was to use Shin's style for my two initial ideas. It was also so i could achieve a better understanding of his expressive painting style. 

Method: 
  1. Grab your material, that will consist of acrylic paint, charcoal, pen, pencil and pot of water. 
  2. Draw out your image you wish to paint. for me it was my first idea which was a portrait of my dog.
  3. Next I outlined the portrait with charcoal to define the basic structure. Once that'd done you can start painting.
  4. I used dark but bold colours to give off a murky vibe. To be honest the placement of paint is random because I wanted to give off the messy impression. One thing to keep in mind is to add a direction to the paint to give off the impression of areas of shape and shadow. 
  5. The basic idea is to layer the paint thickly. 
  6. Next I moved onto my second idea, having a dog features on a human body. For this I repeated step 1-3 but with the charcoal I used it to shade and outline the fair and hat, then I proceeded to paint the face. 
  7. I made sure to show areas of light and dark by using black and white. I layered the paint thickly. 
  8. Next I choose to paint the dog ears similarly to the face except I kept to brown and black and instead of messy blotched painting style I chose to use fine lines of paint.
  9. I also did a copy in black and white but the ears I used multicolour in the same style as the face, but this idea also didn't work.
  10. Since the ears didn't give me the desired effect I experimented with different media. I also chose to put in the eyes because that is something that shin does as well with his work. 
  11. I repeated 6-7. For the eyes I painted it in with acrylic paint but it gives a cartoon style to the eyes which isn't desired. For the ears I used felt pens, using brown and oranges.This also didnt give me the desired effect because it made the ears look flat. 
  12. For my final piece I repeated 6-7 again but instead of having both eyes i chose to have one, again that was painted in with paint. I also used pen again for the ears in the same style as my last experiment. 
  13. After all that clean up your area.


  1. I also created a larger version of this except this time the style was more similar to shins original style. i kept the processes the same but I changed the hair i painted over the charcoal to create depth, and produce a more slick appearance. I also dragged the paint around the neck area down. i think this gives the image a more distorted atmosphere.   


Health & safety
  1. Clean up after yourself once you're finished.
  2. If charcoal and paint gets into your eyes wash it out with warm water.

Combining Lucia Emanuela Curzi and Shin.

This development came about because my experiment with shin didn't work as I'd hope, so for this idea I wanted to combine Lucia with shin. 

Method: 
  1. First I gathered all my material. Pen, watercolours, acrylic paint, oil pastels and charcoal. 
  2. Next I drew two basic outline of my image, this included the hair, hat, facial expression and dog ears.
  3. For the first one I started with the face using pen, ink and watercolours. I used pen for the outline of the face as well as the facial features. I also exaggerated the eyelash length. 
  4. Next I used water colours to fill in the basic features. The water colour was used for the eyes. I also used it to create a basic wash to create shadow on the nose and give a little bit of colour to the cheeks. It was also used to fill in the lips with a bright pink with a hint of purple. The water colours don't bleed with the pen so they work together pretty well. 
  5. Next I used the oil pastels and charcoal on the hair, ears and hat. The charcoal was used to simply fill in the hat with a block of colour. I used the oil pastel for the hair using a simple line pattern that  is built up with different colour pastels like brown, red and black. I then went over it with charcoal to give definitive lines. As for the ears I used curved lines, although this style makes the ears loose definition. 
  6. Next I painted the halo effect around the face, kind of like a blooming flower. For this I used a thick layer of murky colours. I used short brush strokes to encase the area around the face. I also added in a lot of black and white.
  7. I then went back to the watercolours and used that to paint the collar using green and orange, adding a little tone and texture. 
  8. I then proceeded onto my second drawing and basically went about it using the same method although  for step 3 i changed the pen for the watercolours, I used them to outline the face and the facial features. I then used the water colours to fill in the detail. I then repeated the rest of the steps. The water colours didn't work because they gave messy wide lines unlike the pen and it they bleed into each other. 
  9. Finally clean up your work area.

Health & safety
  1. Clean up after you've finished your work.


Charlotte Caron experiment

Charlotte Caron development.

For this experiment I was experimenting with the style of Charlotte Caron. As my artist response wasn't initially on a photograph so for the development I applied paint to photos. For this I also used a variation of colour. I also did further development by combining Charlotte and shin.

Method: 
  1. I photocopied my initial photo so I could experiment multiple times. This also allowed me to get a feel for her style and also gives me time to explore options within the style. 
  2. Gather your equipment, acrylic paint, your photos and a water pot.
  3. I then proceeded to paint my first photocopy with the traditional colours of an animal, these colours consisted of browns, red, blacks and whites. For some of my photocopies I added in Charlotte's signature spreading of paint from the top and bottom of the face. 
  4. The painting style is simply getting an even smooth texture.
  5. Then I decided to experiment with a different range of colours similar to shins palette. For this I used warm and cool colours.
  6. For the eyes I kept them as realistic as possible. 
  7. I then wanted to take the painting further, For this I first painted the face using browns, reds,blacks and white. Except this time I didn't add in Charlotte's strip of paint because I wanted to combine Charlotte and shin. 
  8. Once I finished painting the face I moved onto the hair
  9. For this I selected a smaller paint brush and coated it with paint because i want to refrain a little bit of detail but i also want it applied thickly.
  10.  I layered all different colours on paint onto the hair, Giving it a kind of wavy motion. This development didn't really work so I need a different way to develop it.
  11. Clean up your work station.


Health & saftey
  1. Make sure you clear up after you've finished painting. 
  2. Avoid getting paint in your eyes and mouth. If that ever happens wash out with water.

Photography& acetate

Photograph & acetate.

This experiment was produced as further development for Charlotte Caron. It was to explore other methods to turn my previous failure into a success, (refer back to my Charlotte Caron experiment post). The basic idea behind this experiment was to find alternative options to paint upon a photograph and that's were the idea to use acetate came from. I only choose to paint half of lilly's face because I wanted to work back into the photo with other materials.

Method:
  1. First draw out your desired image onto plain paper. Then proceeded then to gather your equipment, which should simply consist of acrylic paint, various sized paint brushes, a pot of water, your photograph, scissors, double sided tape or pva and of course your acetate.
  2. Place your acetate over your drawn out image. For me that was half of lilly's face.
  3. Begin to paint. I used warm and cool colours because I favoured that palette over the traditional browns and blacks. This colour scheme also links me to one of my previous artist. 
  4. Be careful when painting as its all about building up layers, also be aware that paint will take longer to dry because there is nothing to absorb the paint. 
  5. Once the painting is finished and dry, clean up your work area. 
  6. Then proceed to cut out your painting and layer it over the top of your photograph. I used double sided sticky tape to stick down the acetate. You can also use PVA glue as it dries clear.
  7. Once that is dry you can then work back into your photograph with different materials.
Step 6 didn't work for me as I wasn't able to work back into my photograph with the materials I wished to use. This was probably due to the fact the photo was black and white. I didn't continue with this development as there were too many limitations. 

Health & safety
  1. Clean up after yourself, especially if water is spilt. 
  2. Be careful when using scissors. 
  3. Avoid putting paint into your mouth and eyes, if that ever happens wash out with water.

Friday, 21 November 2014

portrait lighting

Portrait Photography and lighting.

Key points to consider when taking portraits:

  • Make sure you set up your lighting equipment with care.
  • Consider the light angle, shadows and pose before recklessly shooting a portrait.
  • What depth of field will you need? Do you need props?
  • The sharpest element of the photo must be the eye so make sure that's where you focus the camera
  • Most of all make the model feel comfortable and clearly direct them. 
  • Additional information on location photos, you have to take into consideration your environment and background texture.
  • Also natural lighting from the sun. 
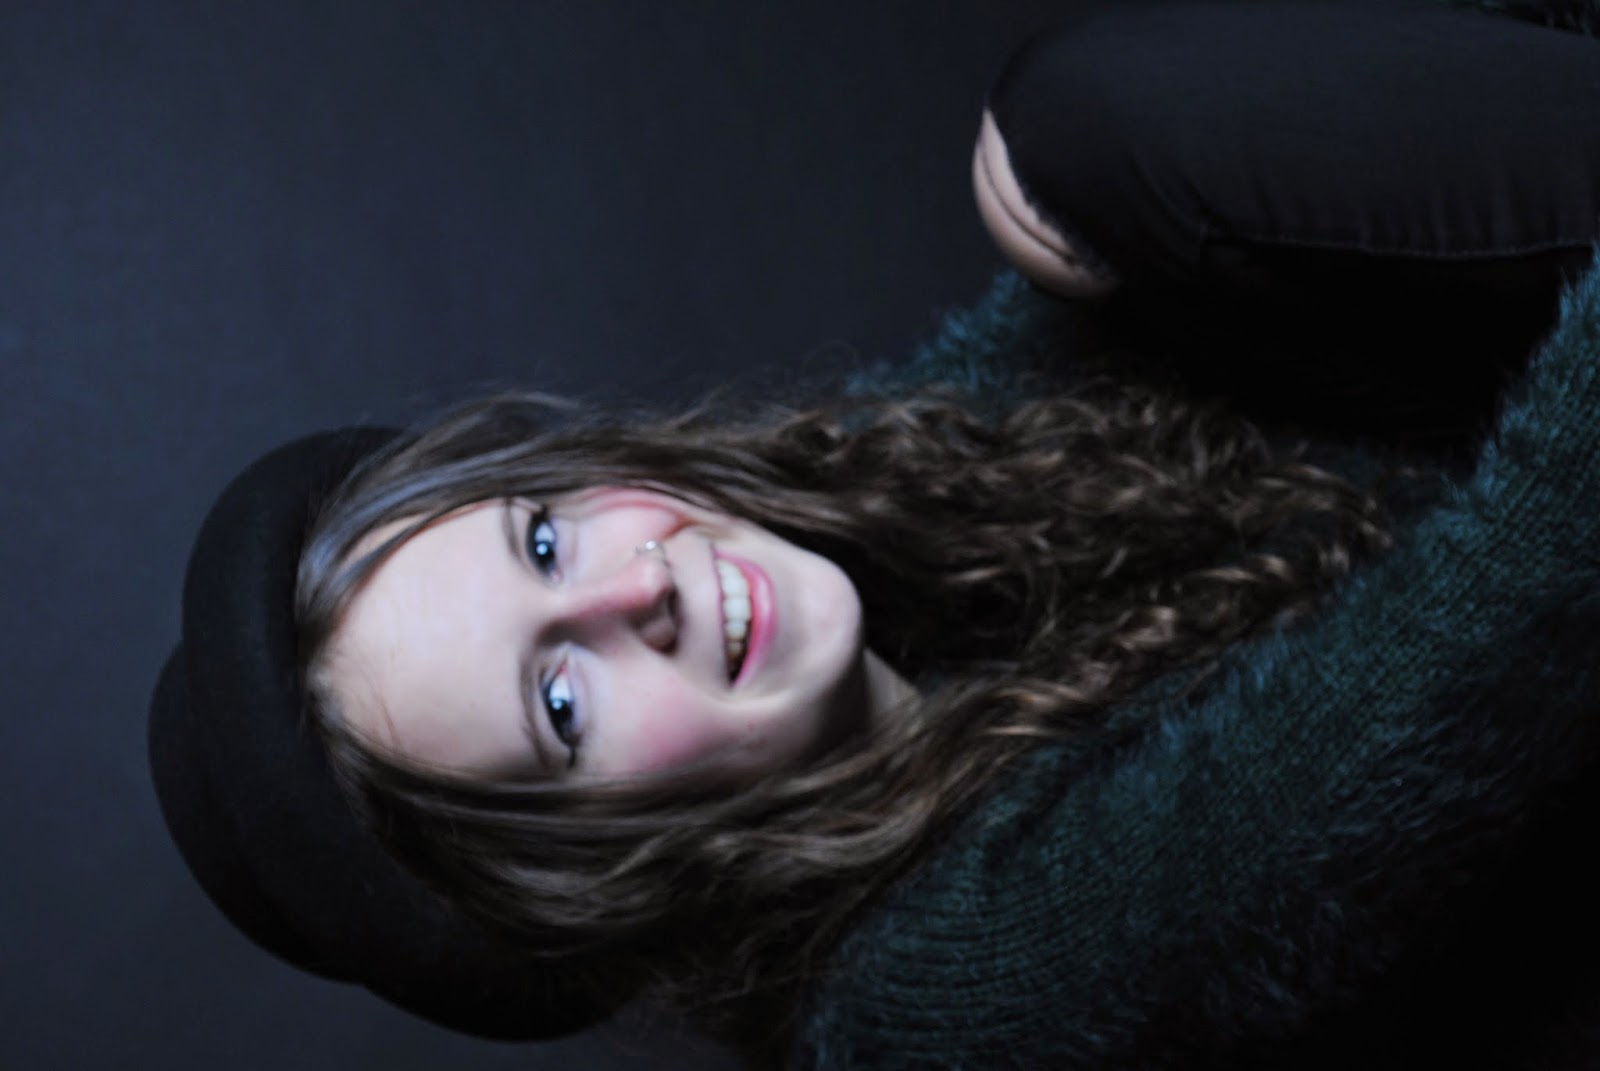
Below are examples of portrait photos taken in the studio. 

Below are portrait photos shot on location.


The camera settings for these photos were as followed. Manual mode with manual focus,1/60,f/8 and 200ISO.
Reviewing this photo I'm very happy with the outcome, the eyes are in focus, although the lighting could have been adjusted more because there is a lot of dark space on the right hand side by the jumper. The shadows produced on the face are very subtle which I like. Next time I would like to experiment in Photoshop and make it monochrome and enhance the grey tones. 


For my on location photo, I'm not that happy with them because I think i could have spent more time picking a more appropriate location, also I'm displeased with the focus point, the eyes aren't really in focus so I'm disappointed with the outcome. I think i need to revisit this workshop to gain better results and more practise. Although I'm happy that I was able to achieve this much because I thought I would have done a lot worse.